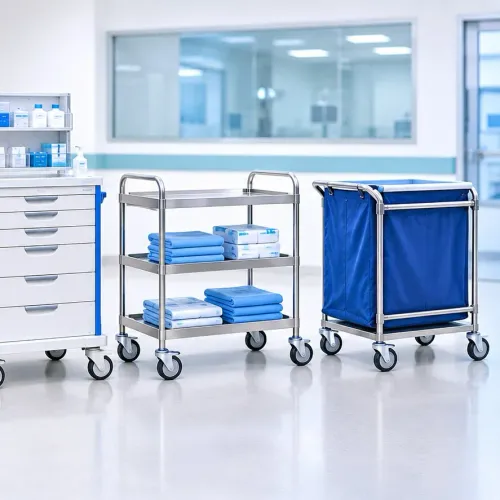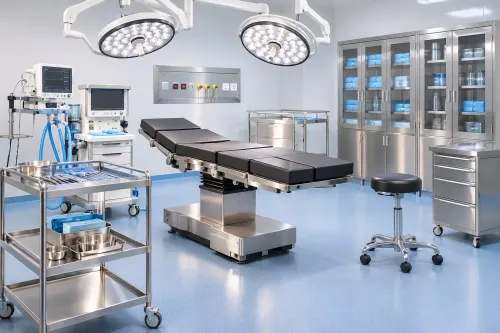

A safe stretcher must do more than carry a patient: it must hold position during transfers, reduce staff strain, steer predictably through crowded routes and remain stable with equipment attached. By the end, you will be able to compare stretcher configurations, inspect critical safety features and turn mobility claims into practical acceptance tests.
Key takeaways
- Match the stretcher to the full route, including imaging and transfer points.
- Use adjustable height to reduce lifting and align with beds or transfer equipment.
- Test brakes, steering and casters with the stretcher loaded.
- Inspect side rails for both fall prevention and entrapment risks.
Match the stretcher configuration to the clinical route
Choose the configuration by route, not by the height mechanism alone: a transport stretcher with powered positioning suits emergency-department-to-imaging movement; a hydraulic stretcher suits routine transfers where staff need adjustable work height without mains power; a fixed-height stretcher fits controlled, short routes with compatible beds and transfer equipment.
| Option | Height and movement | Best clinical route | Main limitation |
|---|---|---|---|
| Hydraulic stretcher | Foot-pedal height adjustment; robust for repeated transfers | Wards, treatment rooms and general transport | Requires staff effort and correct pump operation |
| Electric stretcher | Electric height adjustment and powered backrest or Trendelenburg positioning | Emergency care, imaging and procedures needing frequent repositioning | Battery state and controls need active management |
| Fixed-height stretcher | No height adjustment; simple and light | Short, predictable routes with matching transfer surfaces | Poor choice when bed heights differ or staff must lift |
Use this transport stretcher comparison against your actual route: count ramps, lifts, door thresholds, imaging-table height and time spent beside the patient. Select a low minimum height for safer lateral transfers and a high maximum height for procedures and caregiver posture.
Trendelenburg helps positioning, but it does not retain a patient; ramps, agitation or sedation require the specified restraint system and a documented securing method. Keep IV poles, oxygen holders and monitors within the transport envelope, with positive retention and separate accessory load limits.
Use height adjustment to protect patients and caregivers
Set the stretcher at its minimum height before a patient steps down, rolls, or is assisted onto another surface. Evaluate that height with the mattress installed: a thick mattress raises the actual drop and can turn a low frame into a hazardous one.
Raise it toward maximum height for care tasks that would otherwise force staff to bend or lift with a rounded back.
For a hydraulic adjustment procedure, use this sequence:
- Lock the casters and confirm the patient is centred and stable.
- Check that lines, drains, oxygen tubing and side rails will not catch.
- Pump the height pedal to raise the deck, or operate the lowering control to descend.
- Stop with the mattress level with the adjacent bed in the lateral transfer position; minimise the gap and use a transfer board or designated transfer aid.
- Recheck the height, brakes and clearance before moving the patient.
Do not use Trendelenburg to compensate for an incorrect transfer height. It changes the patient’s position, not the protection provided by a low deck or a secure transfer method.
After transfer, select a working height that keeps elbows close to the body and avoids reaching or lifting; lower the stretcher again for transport, ramps and unattended periods.
Specify brakes, casters and steering for loaded movement
Safe loaded movement depends on three controls: a brake that holds without creep, casters that track or swivel on command, and steering that reduces turning effort without weakening parking security. Test these features with the stretcher carrying its rated patient load; an empty frame can hide shimmy, poor tracking and weak braking.
| Feature | What it does | What to verify |
|---|---|---|
| Total-lock casters | Lock wheel rotation and swivel for transfers and parking | The stretcher remains fixed on the facility’s floor slope |
| Directional-lock casters | Lock swivel while allowing forward rolling for straight-line travel | The caster releases cleanly for lateral movement and tight turns |
| Centralized braking | Applies the brakes from one control instead of four separate pedals | Brake, steer and neutral states are visibly identified at both head and foot ends |
| Fifth-wheel steering caster | Improves tracking, reduces turning effort and tightens the turning radius | It lifts or disengages for sideways positioning; it is not a parking brake |
Specify performance at the rated load, not just caster diameter. Larger casters cross thresholds, uneven floors and cable covers more easily, but increase the swept envelope beside beds and imaging equipment.
- Stopping on the maximum stated slope without brake creep.
- Straight tracking, turning radius and lateral movement in a corridor.
- Crossing the specified threshold height with the mattress, patient and accessories fitted.
A failed threshold test can jolt the patient or tip attached equipment. Ensure brake controls remain reachable without standing in the stretcher’s path.
Treat side rails as part of a complete fall and entrapment system
Compare full-length side rails with split side rails as components of the mattress-platform system, not as standalone fall protection. Full-length side rails create a continuous barrier during transport but can impede access and encourage climbing.
Split side rails leave a central opening for procedures and transfers, yet that opening increases the need to assess patient movement and mattress fit.
| Option | Strength | Main risk or check |
|---|---|---|
| Full-length side rails | Continuous coverage during movement | Confirm positive locking, usable access, and no climbing incentive |
| Split side rails | Easier access to the head or lower body | Check the gap between sections, mattress, deck, and end structures |
| Either design | Supports a documented fall-risk plan | Inspect pinch points and entrapment gaps for head, neck, torso, and limbs |
Raise the rails before transport, after checking that each latch has engaged and the patient’s lines and limbs are clear. Use restraints separately when the clinical assessment requires them; rails do not replace restraints or observation.
Lower the rail on the transfer side only when staff are ready, the stretcher is braked, and the receiving surface is positioned. Keep the opposite rail raised until the patient is safely settled. Test any replacement mattress with the rail system, because a different thickness can create unsafe gaps.
Check load, positioning, power and accessory safety together
A stretcher can remain within its patient-weight rating and still be overloaded. Check the safe working load as the total of the patient, mattress, side rails, IV equipment, oxygen cylinder, monitor, accessories and foreseeable dynamic loading during transport or emergency positioning; confirm each accessory has its own load limit.
Before approval, check:
- Confirm backrest and leg-section actuators have a fail-safe response to power loss, with a usable manual release or battery-backed emergency function for rapid supine positioning. A battery indicator alone is inadequate if it gives no early low-battery warning.
- For mobile C-arm use, verify the radiolucent area, frame and accessory obstructions, permitted imaging angles, load limit during imaging and physical access to the anatomy.
- Inspect rails, IV poles, monitor shelves and oxygen holders for snags, impacts and pinch points. Require positive retention and a controlled transport envelope, not friction-only attachment.
- Match every attached item to its MR Safe, MR Conditional or MR Unsafe conditions. “Non-magnetic” does not prove MRI compatibility.
- Treat Trendelenburg as positioning, not restraint; use the specified restraint system on ramps and during transport, including with agitated or sedated patients.
Record the patient-weight rating separately from the safe working load, and test the fully equipped stretcher rather than the empty frame. Configuration changes can turn a compliant setup into a hazard.
Turn the specification sheet into a practical acceptance test
Do not approve a stretcher from a catalogue claim alone. Request a witnessed demonstration with the intended mattress, rails, IV pole, oxygen cylinder and monitor attached, then record the configuration, patient load, brake test, steering test and maximum height.
Ask the supplier for:
- A safe-working-load calculation separating patient-weight rating from mattress, accessories and foreseeable dynamic loading.
- An accessory schedule stating each rail, holder, shelf and pole’s load limit, retention method and pinch or snag hazards.
- An imaging drawing showing the radiolucent area, frame obstruction, permitted C-arm angles, imaging load limit and anatomy reach.
- An MRI safety statement classifying the complete setup as MR Safe, MR Conditional or MR Unsafe, with conditions for every accessory.
Windlio International, or any shortlisted supplier, should demonstrate oxygen-cylinder holder stability by testing vertical lift-out, lateral ejection, cornering and door clearance with the cylinder loaded.
| Test | Pass condition | Evidence to retain |
|---|---|---|
| Transport | Stretcher stops, turns and crosses the stated threshold without accessory movement | Signed trial record and user instructions |
| Mobile C-arm | Anatomy is reachable through the radiolucent area at specified angles without frame or accessory obstruction | Imaging compatibility report |
| MRI | Every installed component matches the stated MR Safe, MR Conditional or MR Unsafe classification and conditions | Configuration-specific declaration |
| Acceptance | Rails, brakes, height controls and restraints work under the declared load | Commissioning checklist and maintenance schedule |
Related products
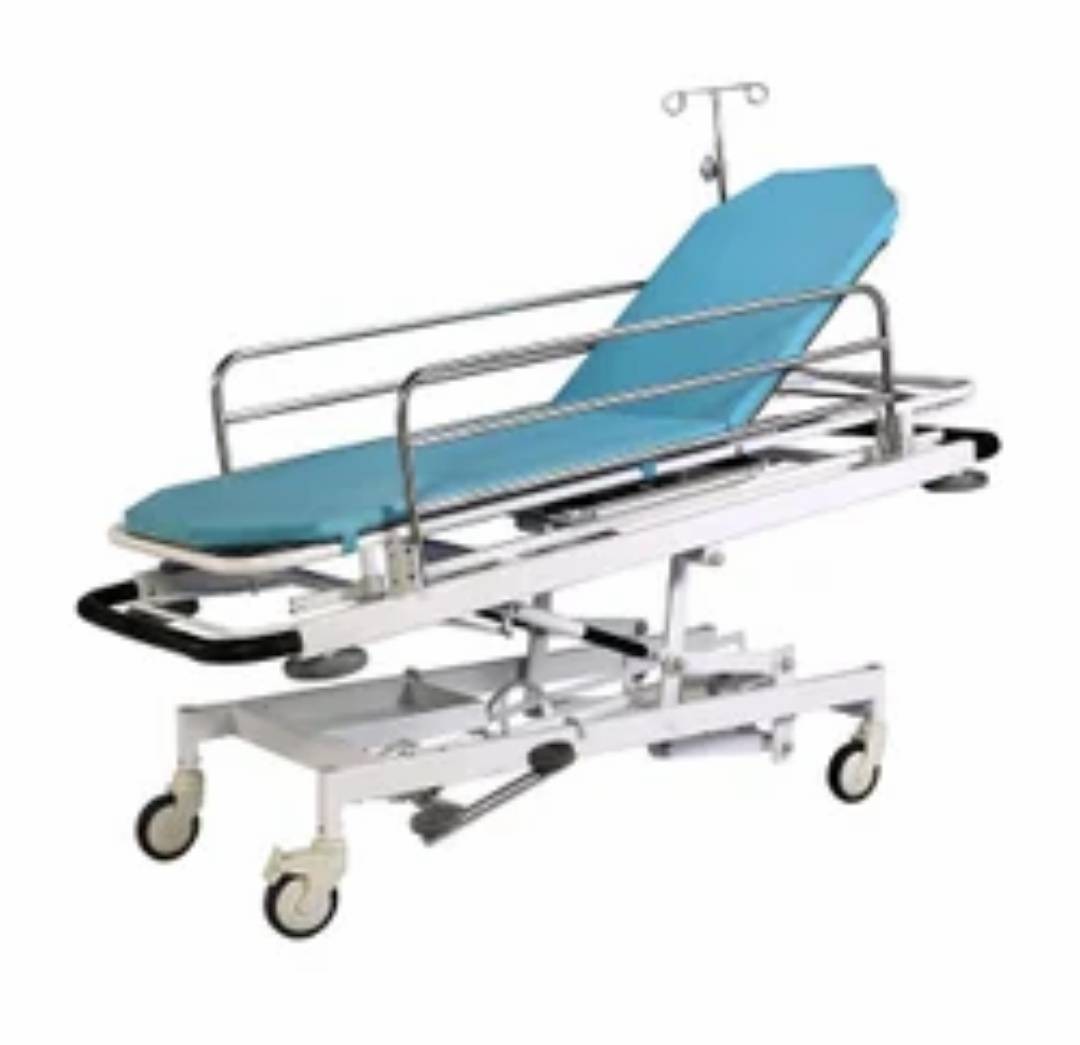 | Stretcher Trolley Hydraulic Patient Stretcher Trolley Manufacturer in Pune By Windlio International Windlio International is a leading manufacturer of hydraulic patient stretcher trolleys in Pune,... View product → |
 | Medical Equipment Spine Board Stretcher WL0016 Manufactured by Windlio International, Pune The Spine Board Stretcher (Model WL0016) is a lightweight, rigid, and... View product → |
Frequently asked questions
How should you match a patient stretcher to its clinical route?
Map every movement from the starting point to the destination, including elevators, imaging tables, doorways and bed transfers. Choose powered positioning for routes that need frequent movement and adjustment, hydraulic height adjustment where mains power is unavailable, and fixed height only when surrounding equipment is compatible.
Why does stretcher height adjustment affect safety?
Adjustable height lets you align the stretcher with beds, transfer boards and imaging equipment while reducing bending and lifting by caregivers. Check the lowest and highest positions, controls, clearance and stability before purchase.
What should you check in stretcher brakes, casters and steering?
Test braking, directional locking, swivel movement and cornering with the stretcher loaded. Confirm that the brake is easy to identify and engage, casters roll over the route surface, and steering remains controlled during pushes and turns.
How do side rails contribute to patient safety?
Side rails help reduce falls when raised, but they must also avoid gaps that can trap a head, neck, limb or equipment. Test rail locking, release controls, height, mattress compatibility and access during transfers.